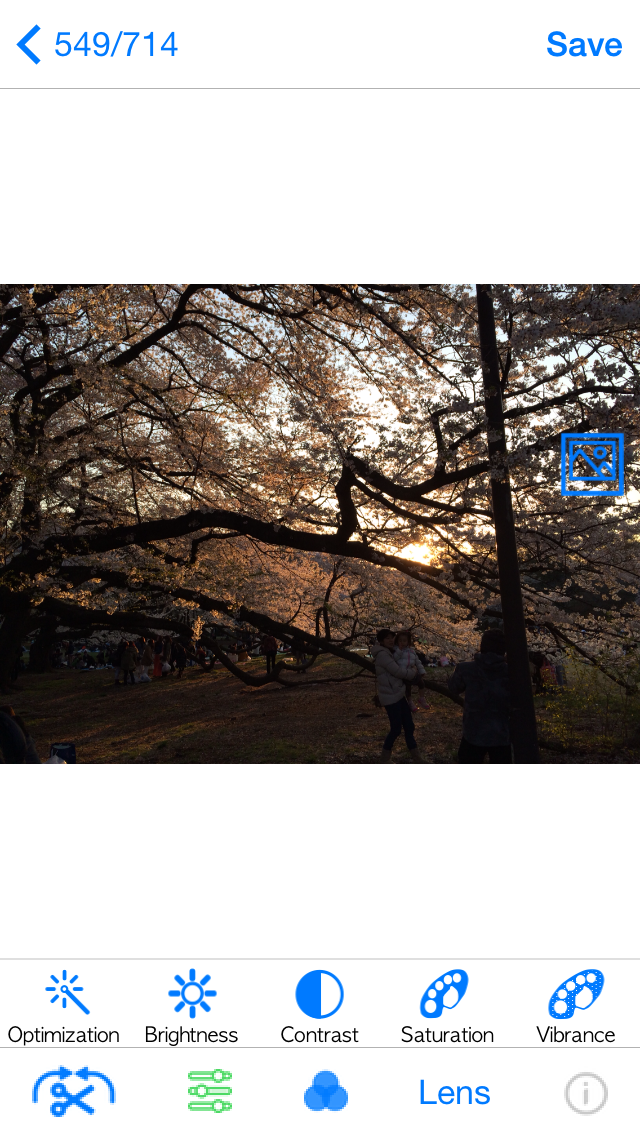
First off, open an adjustment selection page.
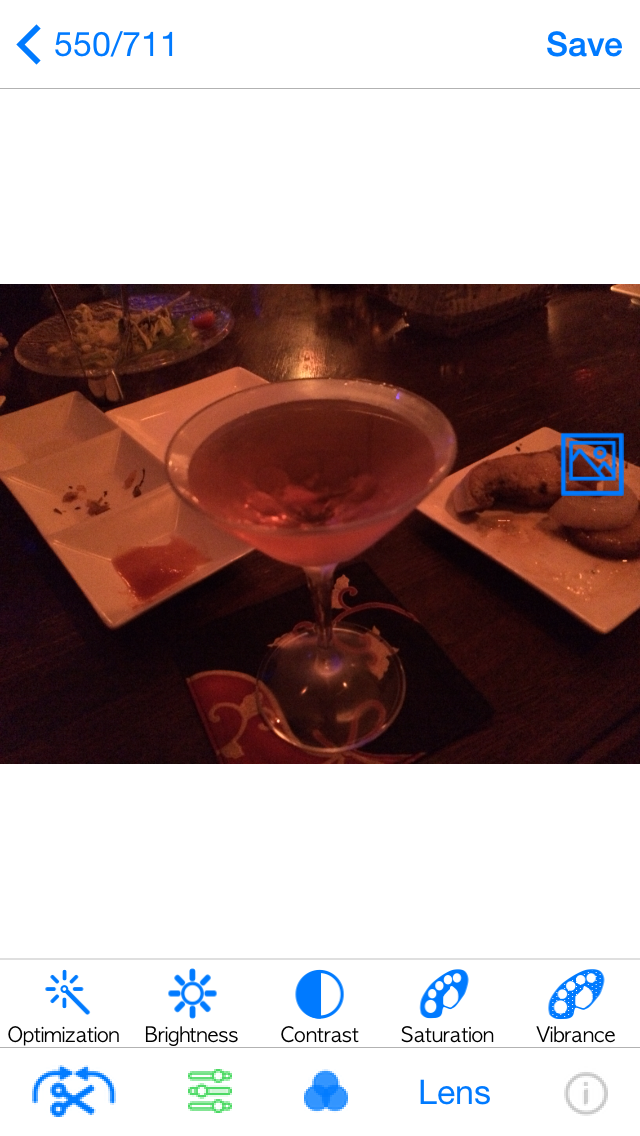
Then, the icons to which various adjustment items were written comes out. So let’s scroll icons horizontally and select an item you want to use.
In this case, for example, you select “Exposure”.
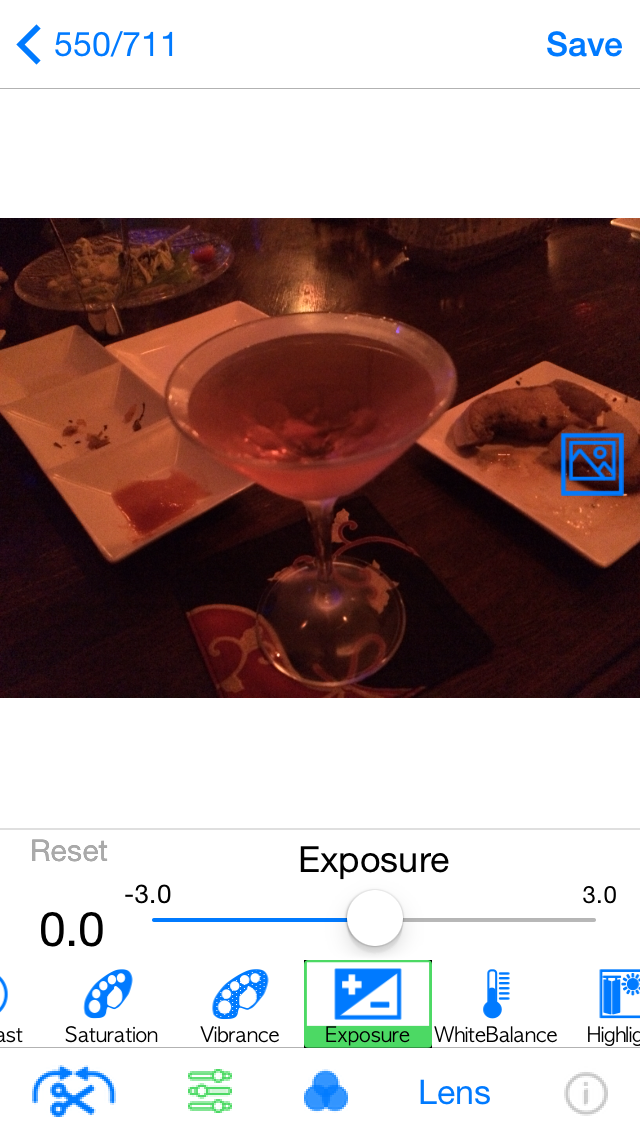
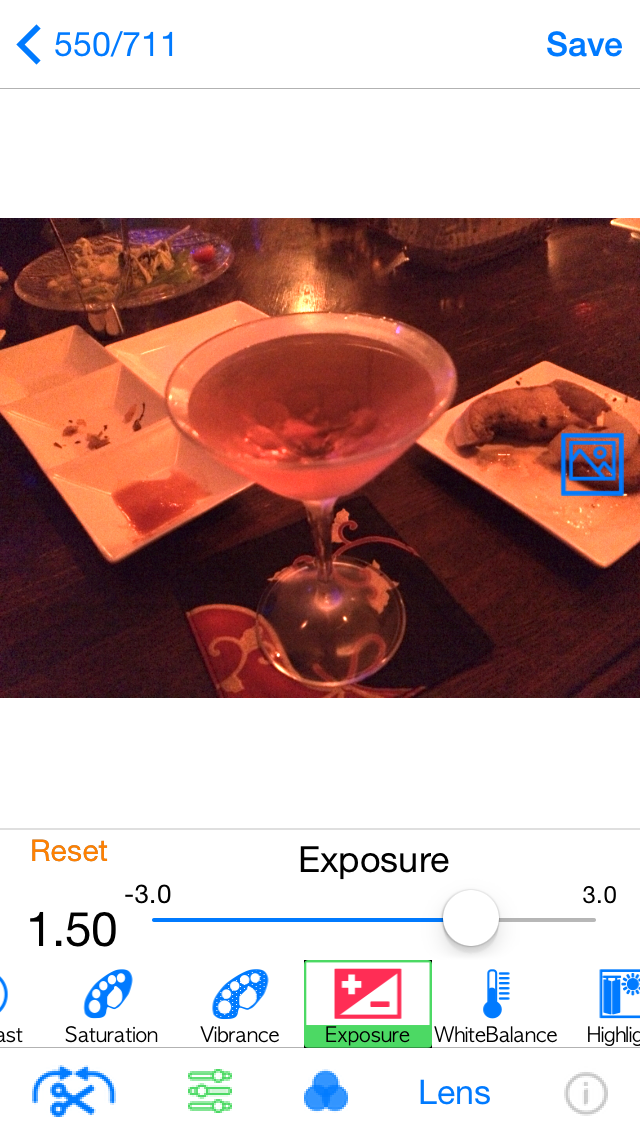
Because the original photo is dark, move the slide bar of “Exposure” to the right, and adjust brightness.
If a slide bar is moved, the icon of “Exposure” changes to red and it means being adjusted.
If you want to compare with an original photo, push  button.
Only while pushing the button, it becomes the original photo.
It might be better to use other item such as “Brightness” and check the difference between those effects.
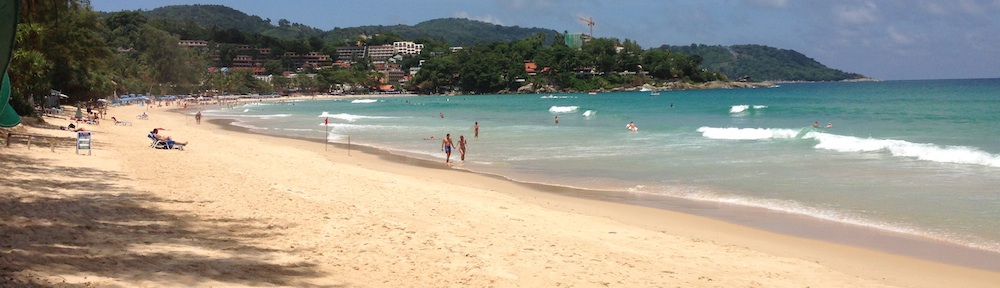
Next, let’s use this photo.
Select “Exposure” as before and move a slide bar to the right, and adjust brightness.
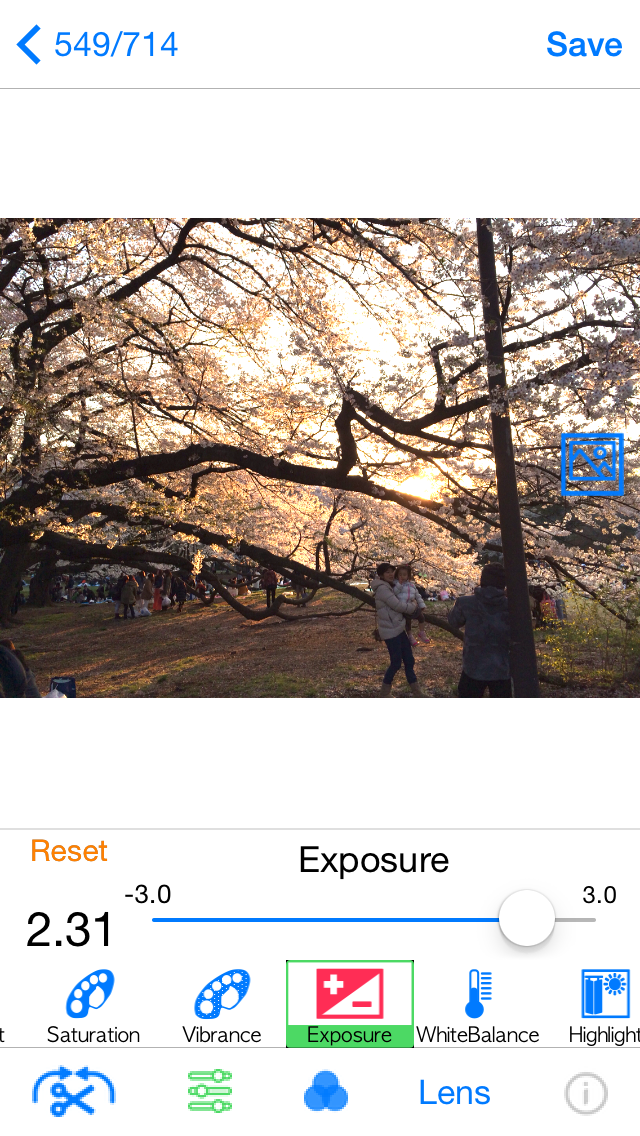
Although a photo became bright and it became to easy to recognize that someone embraced a child, sunlight is too bright.
If you don’t want to change the brightness of sunlight and want to make only dark portions bright, use “Shadow” instead.
So, push “Reset” button to deselect “Exposure” effect.
Next, select “Shadow”.
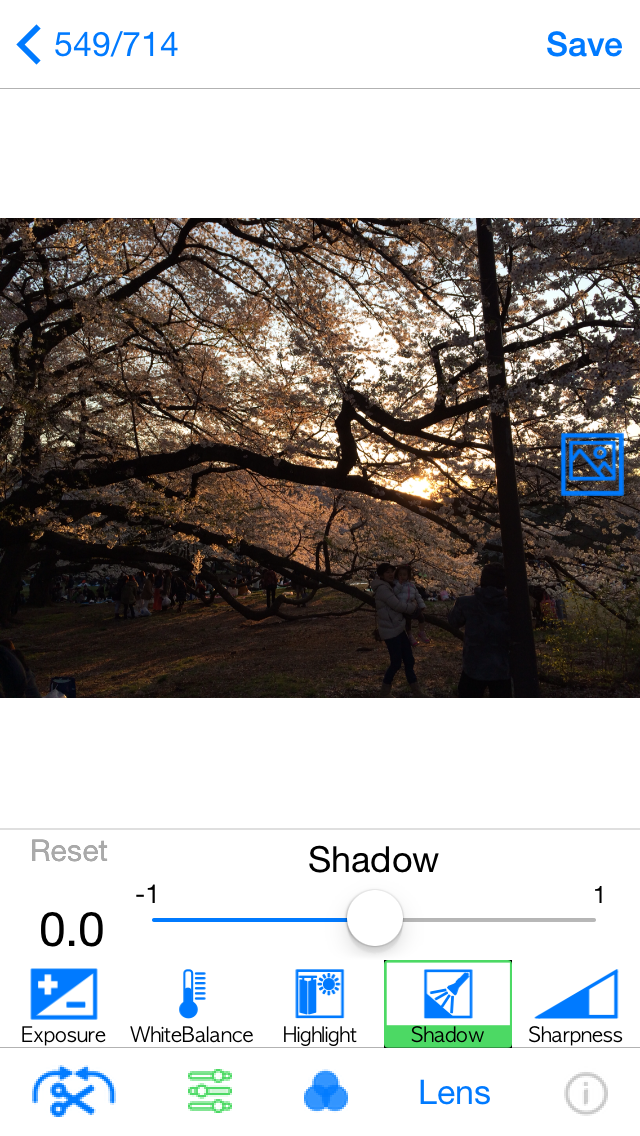
Like the case of “exposure”, move a slide bar to the right and adjust brightness.
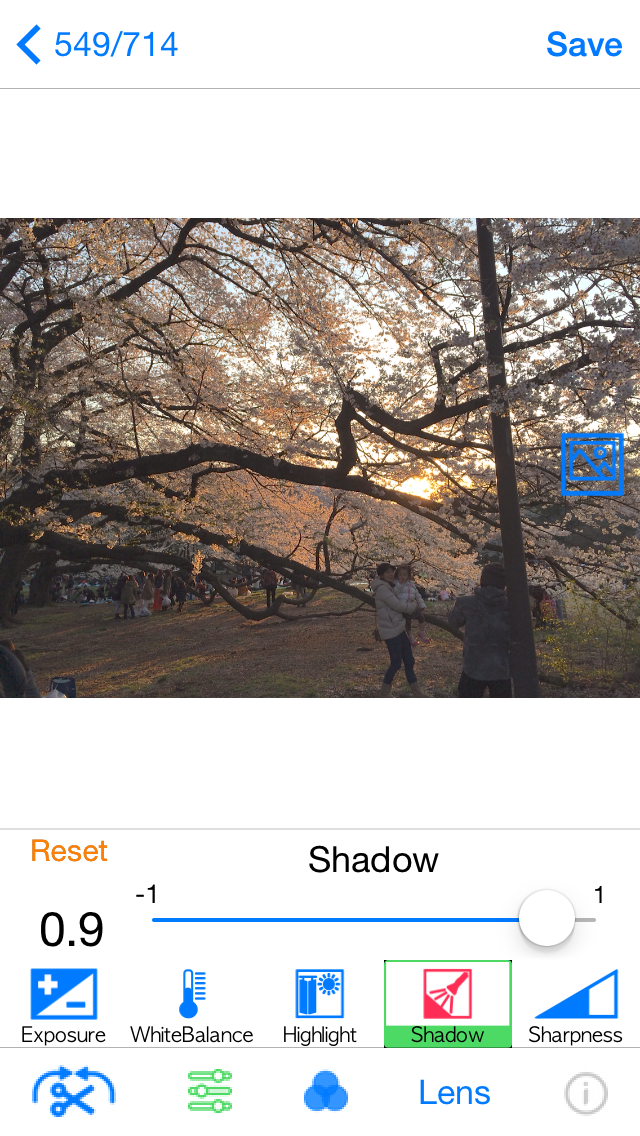
Then, although the brightness of sunlight seldom changed, it became to easy to recognize that someone embraced a child.
If you select “Shadow” icon again, the effect is reset and the color of the icon becomes blue.
Thus, select “brighten function” on a case-by-case basis.