First off, open an adjustment selection page.
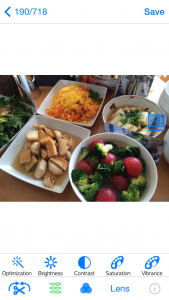
Then, the icons to which various adjustment items were written comes out. So let’s scroll icons horizontally and select an item you want to use.
In this case, for example, you select “Saturation”.
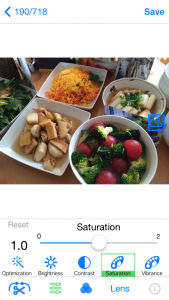
Because the color of an original photo is thin, move a slide bar of “Saturation” to the right and adjust brightness.
If a slide bar is moved, the icon of “Saturation” changes to red and it means being adjusted.
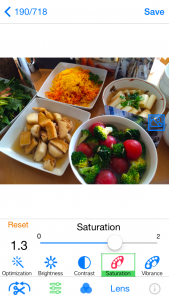
If you want to compare with an original photo, push  button.
Only while pushing the button, it becomes the original photo.
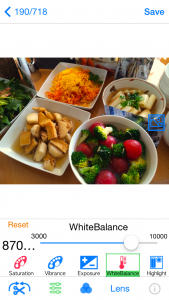
Next, select “Whitebalance”.
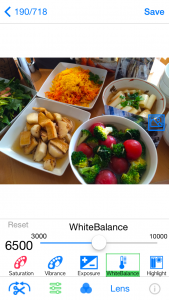
Because the color of an original photo is whitish, move a slide bar of “Whitebalance” to the right and adjust redness of the whole.
If you move a slide bar to the left, blueness of the whole will be adjusted and it would be better to use “Whitebalance” properly with cooking.
This is a photo which “Shadow” was selected and brightness was adjusted furthermore.
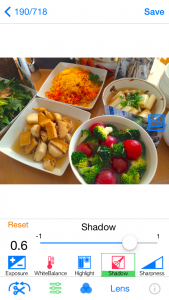
Because the combination of this adjustment is not always certainly applied, according to your own liking and content of a photo, let’s try various combination.
